

A good turtle tank starts with the species and expected adult size. Choose the enclosure, water depth, land area and temperatures together, then test the complete setup before adding the animal. A starter kit’s contents do not establish that it meets those needs.

1. Choose the right kind of enclosure
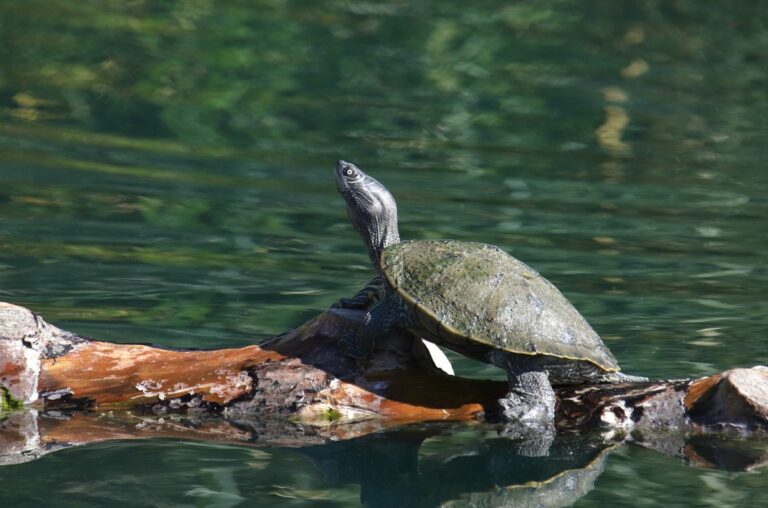
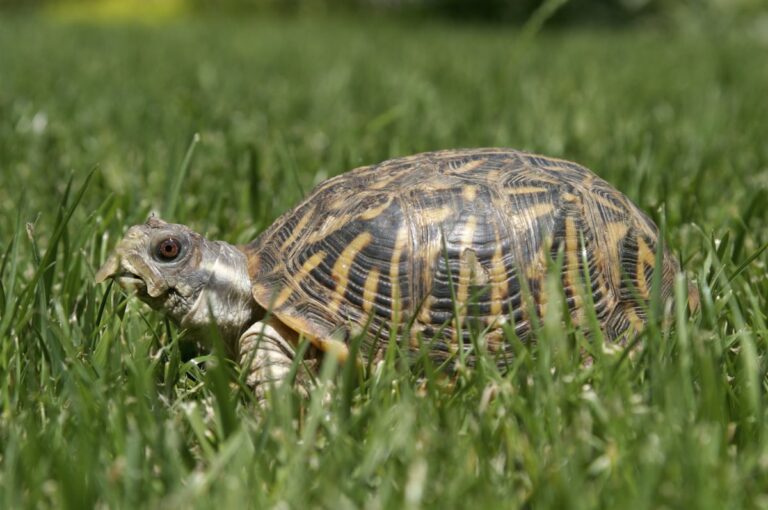
This guide focuses on aquatic and semi-aquatic turtles. A box turtle needs a terrestrial enclosure, while an eastern mud turtle needs substantial land as well as water. A floating dock does not replace usable land for either.
For aquatic species, use an aquarium or other container explicitly suitable for the intended water depth. A dry reptile terrarium may not withstand being filled. Put the enclosure on a level support appropriate for its loaded weight, and leak-test a used tank safely before furnishing it.
Plan adult dimensions rather than selecting by the current hatchling’s length. The VCA aquatic turtle housing guide uses a red-eared slider as its example and stresses swimming space and dry basking accommodation. It should not be treated as a universal blueprint for every turtle.
For species comparisons, see our small turtle guide. Sex can change the final space requirement dramatically in map turtles and many other species.
2. Set water depth and safe exits
Provide usable swimming or bottom-walking space according to the species. Include stable resting places and several easy routes to the surface, especially for hatchlings and weaker swimmers. Depth cannot be judged independently of the layout.
Give the turtle a ramp to a stable dry platform that supports its full adult weight. Secure heavy rocks and wood, guard intakes and remove gaps where a turtle could become wedged underwater. Do not fill the enclosure so high that it can climb out from the platform.
A cover must resist escapes while allowing appropriate ventilation and safe lamp placement. Mesh can reduce UVB and needs to be included in lighting calculations. A loose screen is not automatically adequate predator protection outdoors.
3. Keep the bottom safe and cleanable
A bare bottom can simplify maintenance, but some species benefit from suitable digging or burrowing substrate. Choose for the species and cleaning routine rather than appearance alone.
Avoid sharp material and loose pieces the turtle is likely to swallow. One half-inch gravel rule does not fit every turtle’s mouth. Do not assume a planted-aquarium substrate is automatically suitable for a turtle.
For example, Seachem describes Flourite as porous clay gravel, not calcium fluoride crystals. Product composition and suitability should be checked from manufacturer information.
4. Install and cycle the filter
Choose equipment that works at the actual water level and has enough media capacity for the turtle’s waste. A canister can be useful for a larger system; an internal filter may suit a smaller working volume. Check inlet safety, flow strength and maintenance access.
Mechanical media trap particles. Biological media support microbes that process ammonia and nitrite. Ordinary aquarium filtration does not reliably make nitrate disappear, so testing and water changes still matter.
Cycle the enclosure before stocking. Remove leftovers, use conditioned replacement water and maintain the filter according to its instructions. Our cleaning guide covers the ongoing routine.
5. Measure water and basking temperatures

Set the correct water, basking and cool-area temperatures for the species and age. Do not warm all water and land to the same number. Use thermometers at the relevant locations instead of relying on heater settings or bulb wattage.
Use controlled heating equipment only where needed and protect submerged heaters from damage and contact. Follow electrical and appliance instructions, including safe cable routing and switching equipment off before maintenance where required.
Check that the turtle can leave the heat, rest comfortably and dry completely. A nesting area for a mature female is a separate provision from a basking platform.
6. Provide appropriate UVB and a day-night cycle

Provide suitable daytime UVB alongside warmth and visible light, with shaded retreats. Follow the exact lamp and fixture guidance for distance, mesh and replacement. A household viewing light or ordinary heat lamp does not necessarily supply UVB.
See our turtle UVB guide. Keep a normal dark period; colored night bulbs should not be assumed invisible to the animal.
Before the turtle moves in
Run the finished system and verify temperatures, water processing, ramps, platform stability and escape prevention. Prepare the species-appropriate food and veterinary contact. Start with one turtle unless you have the space, experience and separate accommodation to manage conflict.
Wash hands after contact with the turtle or equipment, keep cleaning away from food-preparation areas and never release a captive turtle into the wild.
You said sand is fine but gravel has to be at least 1/2 inch in diameter so they wont eat it. Will they not eat the sand?